
How to Do an L-Sit: Progressions From Tuck to Full
To do an L-sit, place your hands on parallettes, dip bars or sturdy blocks beside your hips. Lock your elbows, push your shoulders down away from your ears, and lift your hips so your legs extend straight in front at hip height. Build up through a support hold, a tuck L-sit and a one-leg L-sit before you hold the full position.
In this guide
How do you do an L-sit?
An L-sit is a support hold in which your body makes the letter L: arms straight, torso upright, legs straight out in front at hip height. Your arms carry all of your weight while your trunk and hip flexors hold your legs up.
- Sit or stand between two parallettes, dip bars or stable blocks and grip them beside your hips.
- Straighten your arms and lock your elbows. They stay locked for the whole hold.
- Push your shoulders down away from your ears, as if making your neck longer. This raises your hips higher between your hands.
- Let your shoulders sit very slightly in front of your hands, so your weight stays over your palms rather than behind them.
- Lift your legs, straight and together, until they are level with your hips. Squeeze your thighs and point your toes.
- Hold while you take short breaths. Put your feet down before your elbows bend or your shoulders creep up.
Where can you practise an L-sit?
You need two stable points at about hip width that will not tip, slide or roll:
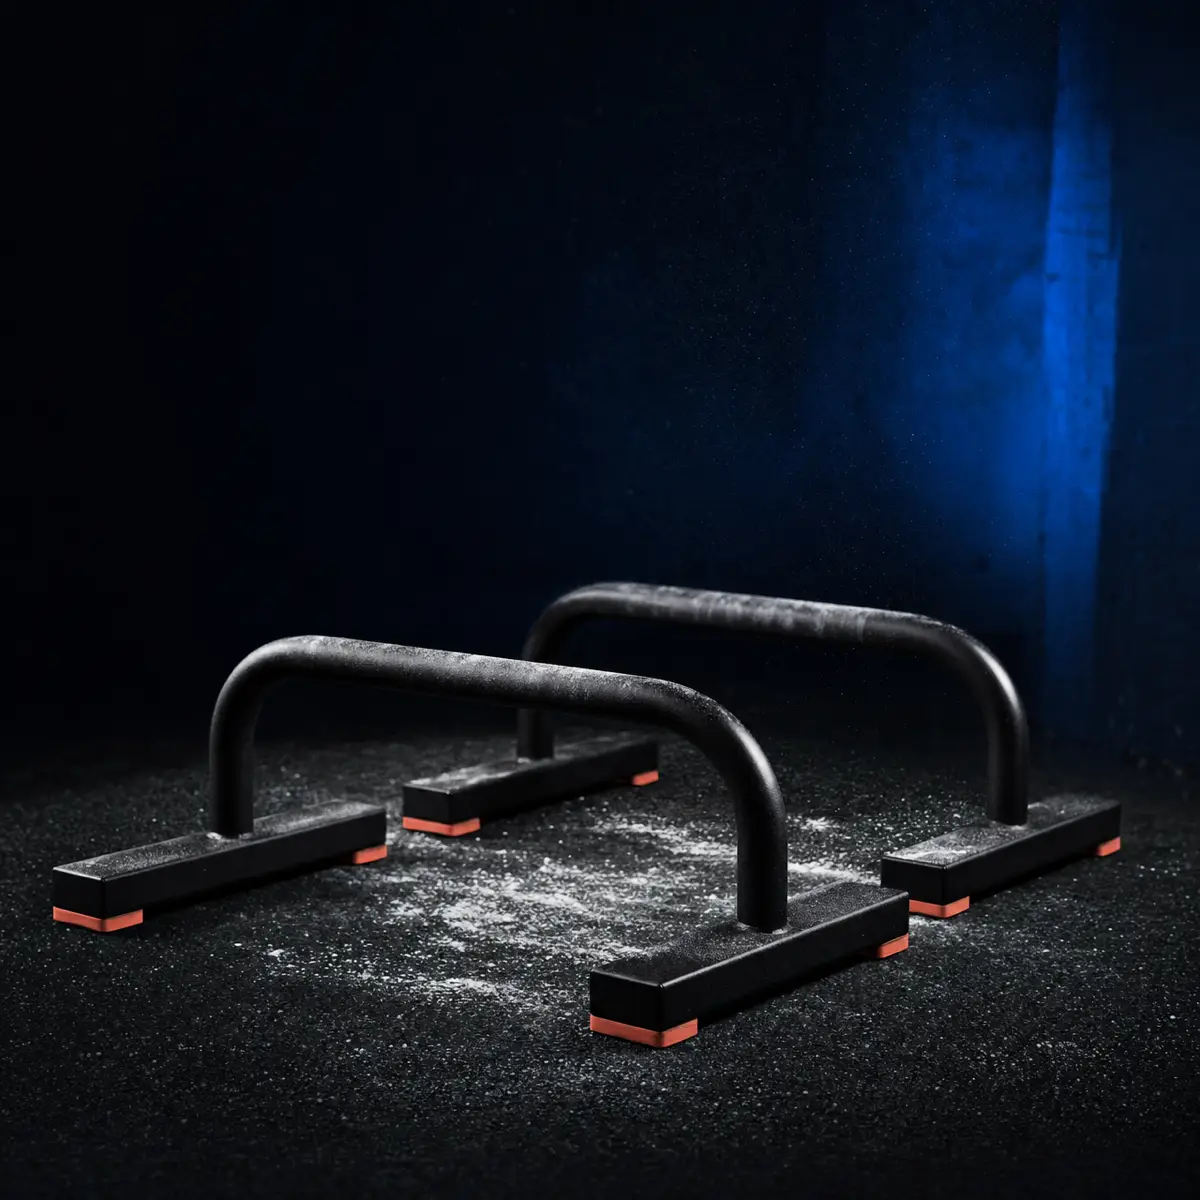
- Parallettes: Low handles that keep your wrists straight and give your heels some clearance. They are a practical place to learn.
- Dip bars or parallel bars: The most room under your feet, so a dropping heel does not end the set. These are the same bars you use for dips. Check that the station is stable before you load it.
- Yoga blocks or two sturdy chairs: Workable at home. Blocks give a few inches of height; chairs give more. Set chairs against a wall or on a non-slip floor, check that they cannot tip or slide, and never use chairs with wheels.
- The floor: The hardest surface. Your hands are on the same surface you have to clear, so you need more shoulder push and more compression just to lift your heels, and your wrists bend further back. Treat the floor L-sit as a separate, later goal.
- Rings: They move, which adds a stability demand on top of the hold. Save them until the bar version is solid.
How do you build a solid support hold?
The support hold is the L-sit without the legs, and it decides how high your hips sit. Take your grip, straighten your arms, and lift your feet so you hang between your hands: legs straight down on dip bars, knees bent on low parallettes. Lock your elbows and push your shoulders down. Your neck should look longer, and you should feel the muscles under your armpits working.
Start with 3 sets of 15–30 seconds. Watch for the shrug. If your shoulders rise toward your ears, the set is over. A tuck L-sit that will not leave the floor is often a support problem, not a leg problem: the hips simply sit too low for the feet to clear.
What is the L-sit progression?
Start at the hardest stage where you can hold 5 clean seconds. Rest about 90 seconds to 2 minutes between holds. These are short, intense efforts, and a tired hold teaches the shrug.
| Stage | Position | Training target | Move on when |
|---|---|---|---|
| Support hold | Arms locked, shoulders down, feet off the floor | 3 sets of 15–30 s | All 3 sets reach 30 s with no shrug in 2 sessions |
| Tuck L-sit | Knees drawn toward the chest, feet clear of the floor, torso upright | 4 sets of 5–15 s | All 4 sets reach 15 s in 2 sessions |
| One-leg L-sit | One leg straight at hip height, the other tucked; switch legs each set | 4 sets of 5–10 s per leg | All sets reach 10 s per leg in 2 sessions |
| Full L-sit | Both legs straight and together at hip height | 5–6 holds of 3–10 s | All holds reach 10 s in 2 sessions; then build toward 3 sets of 15–20 s |
| Floor L-sit | The same  ladder with hands flat on the floor, starting from the tuck | 4 sets of 5–10 s at your floor stage | All sets reach 10 s; then move to the next floor stage |
Every hold must reach the target, not only the best one. Holds of 15, 15, 15 and 11 seconds mean stay. When you step up, the first sessions may give you only 2–4 seconds. That is normal. Collect the time in short holds instead: five or six holds of a few seconds each, resting 60 seconds between them, then make each one longer over the following sessions.
If a new stage gives you nothing at all, add a halfway point. In the one-leg L-sit, let the straight leg sit a little below hip height. In the full L-sit, do the same with both legs. Count those holds as the previous stage until the legs reach hip height.
ACSM's resistance-training position stand names specificity and progressive overload among its core progression principles. For the L-sit, that means two things: practise the hold itself, and make it harder in small steps.
Which compression drills help you lift your legs?
Compression is the strength to pull your legs toward your torso at the end of your range, where your hip flexors and abs are at their shortest. The L-sit needs a lot of it, and holds alone build it slowly. Add one or two of these drills after your L-sit work:
- Seated leg lifts: Sit tall on the floor with your legs straight together and your hands resting beside your hips. Lift both heels a few inches without leaning back or pushing through your hands, pause 1–2 seconds, and lower. Start with 3 sets of 8–12.
- Pike compression lifts: Sit with your legs straight and fold forward as far as you can with a long back. Put your hands on the floor beside your shins and lift both heels while staying folded. Hands further toward your feet make it harder. Start with 3 sets of 6–10.
- Hanging leg raises: Hang from a bar and lift your legs to hip height under control, without swinging. Bend your knees if straight legs pull you into a swing. The hanging leg raise exercise page shows the setup. Start with 3 sets of 6–12.
Does hamstring flexibility matter for an L-sit?
Yes. In an L-sit your hips are bent to 90 degrees with your knees straight. That puts the same stretch on your hamstrings as sitting on the floor with straight legs. If that seated position rounds your lower back or forces your knees to bend, the L-sit has to fight the same tightness, and your hip flexors work against it.
Test it by sitting on the floor with your back against a wall and your legs straight and together. If you cannot sit tall with your knees flat and your lower back touching the wall, add flexibility work. A seated pike stretch or a standing forward fold, two or three gentle 30-second holds after training, is a simple start. You want a stretch at the back of the thigh, never pain behind the knee. Knees that bend in the one-leg or full stage often come from here rather than from weak legs.
How do you protect your wrists?
Your wrists carry your whole body at every stage. Warm them up for a couple of minutes first: wrist circles, then gentle rocks forward and back on all fours with your palms flat, then with the backs of your hands down. Parallettes, dip bars and blocks you can grip keep your wrists straighter than flat palms on the floor, so learn there. Add floor work slowly, a few short holds at a time.
Stop the session for sharp or pinching wrist pain, which is different from tired forearms. The same goes for pain at the front of the shoulder. If either persists, see a physiotherapist or doctor.
What L-sit mistakes should you fix?
- Shrugging: Your shoulders rise toward your ears and your hips sink. Push down hard through your hands. If you cannot hold that, drop back a stage.
- Bent elbows: Soft elbows make your triceps do the holding and lower your hips. Lock them before your feet leave the floor.
- Leaning back: Sitting back behind your hands moves your weight off your palms. Bring your shoulders slightly in front of your hands and sit tall.
- Bent knees: Usually tight hamstrings or tired hip flexors. Stretch after training, and in the one-leg stage keep the working leg straight even if it sits a little low for now.
- Legs below hip height: Lower legs feel easier but turn the hold into an earlier stage. Count full L-sit seconds only while your legs are level with your hips.
- Holding your breath: Breathe in short breaths. If you cannot, the stage is too hard for today.
What does a six-week L-sit plan look like?
Practise three times a week on nonconsecutive days, at the start of a session after your wrist warm-up, while you are fresh. Each block takes 10–15 minutes.
| Weeks | Holds | Compression and flexibility | Decision |
|---|---|---|---|
| 1–2 | Your tested stage: 3–4 sets at the low end of its time range | Seated leg lifts 3 × 8; hamstring stretch 2 × 30 s | Move up only after 2 sessions at the top of the range |
| 3–4 | Same or earned stage, adding 1–2 seconds per hold when every hold was clean | Seated leg lifts 3 × 10–12 or pike compression lifts 3 × 6 | Holds stalled for 2 weeks? Add hanging leg raises and keep the stage |
| 5–6 | Your earned stage; in the last session, test one clean hold at your hardest stage | Pike compression lifts 3 × 6–10; hanging leg raises 3 × 6–10 | Use the test to set the next block's stage and start time |
Move on your log, not the date. If you pass a stage in week two, move up in week two. If you miss a week, repeat the last block you completed instead of jumping ahead.
How do you track L-sit holds?
Note the stage, the surface and the seconds for each hold: “Tuck L-sit, parallettes: 15, 15, 12, 10.” The surface matters. Ten seconds on dip bars is not ten seconds on the floor.
Logging is free in Trainer, and every set arrives pre-filled with the reps to hit next. For your hanging leg raises, its hanging-core ladder runs hanging leg raise → hanging pike. When every working set reaches the top of the rep range for two sessions in a row without a grind, Trainer suggests the next harder version.
The L-sit builds on the hollow body hold and its ribs-down tension. Its locked support position is also the top of a dip, and the core strength carries forward to the front lever. The calisthenics hub lists it with the plank and the other core skills.
Sources
Frequently asked questions
How long does it take to learn an L-sit?
There is no reliable timeline. It depends on your support strength, your compression strength and how flexible your hamstrings are. Progress comes from short, clean holds two to three times a week, moving up a stage only when every hold meets its target in two sessions.
Why can't I lift my legs in an L-sit?
Usually one of three things. Your shoulders are not pushed down, so your hips sit too low; your compression strength is weak at the top of the range; or tight hamstrings make straight legs fight you. Fix the support hold first, add seated leg lifts, and stretch your hamstrings after training.
Should I do L-sits on the floor or on parallettes?
Learn on parallettes, dip bars or blocks. They keep your wrists straighter and give your feet room to clear. The floor is the hardest surface because your hands are on the surface you need to clear, so treat the floor L-sit as a later goal.
How long should I hold an L-sit?
Train with several short holds rather than one long one, about 5–15 seconds each depending on the stage. A clean 10-second full L-sit on bars is a good first goal, and 15–20 seconds per set is a sound target after that. These are coaching targets, not tested standards.
Try the numbers for yourself.
Workout log template
Fill in your sets, download a CSV, or print a log for the gym.
RPE chart
Compare effort, reps in reserve, and estimated percentages.
A useful next read.
All guidesThe gymnastics base position, from a tucked hold to a full hold.
How to Do Dips: Form, Depth and Progressions
Find a comfortable depth, then climb from bench dips to full and ring dips.